This is more like a tutorial than an update on the project. This is NOT the only way to do this, and the finished product might not meet everyones expectations, it's just the way I did it.
Tutorial: restoring old plastic handle bar switch assemblyAs the roads are melting FAST here, I've started to feel a bit too anxious to just slap the bike together, so I can ride it soon. However, I've decided to stay strong, do the bike so it will please me in every way as soon as it's done, although it might take more time. As my front end is mechanically starting to be together, I dug up the handlebar switches, which were in bad shape:
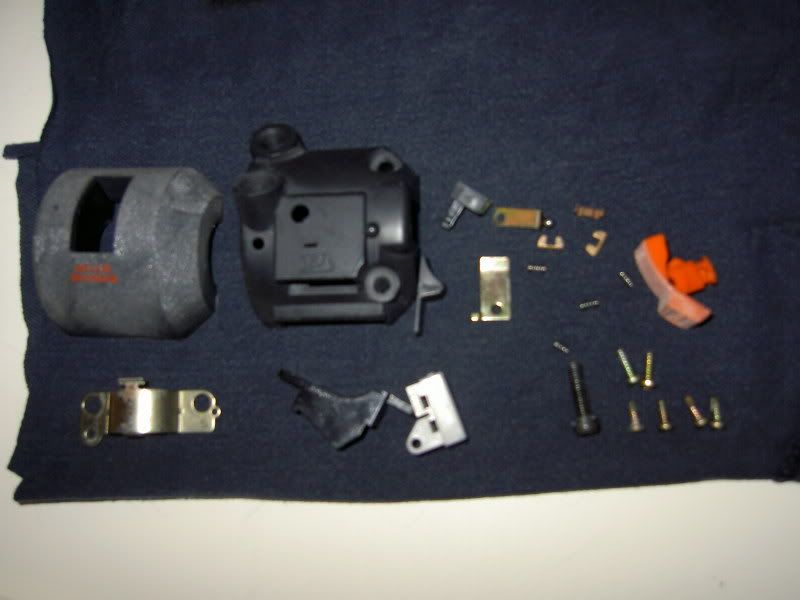
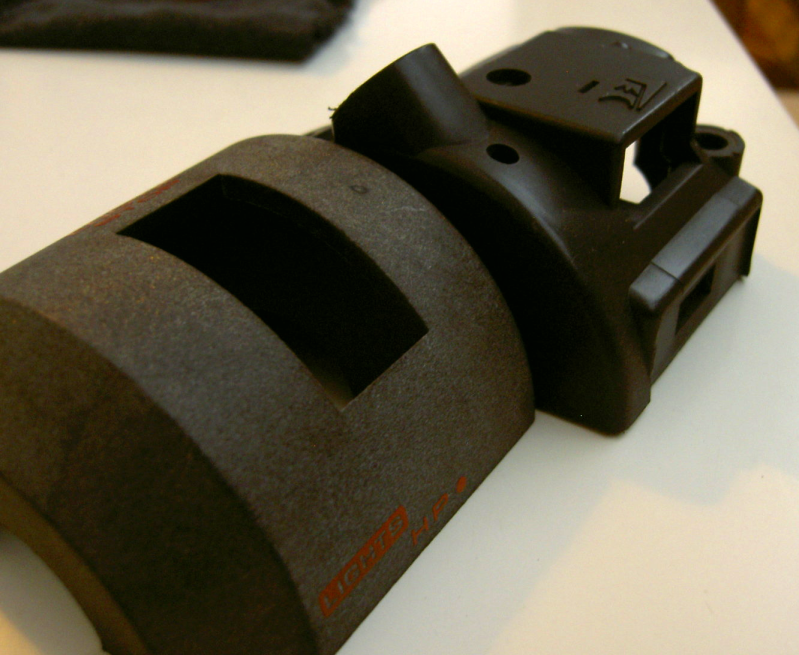
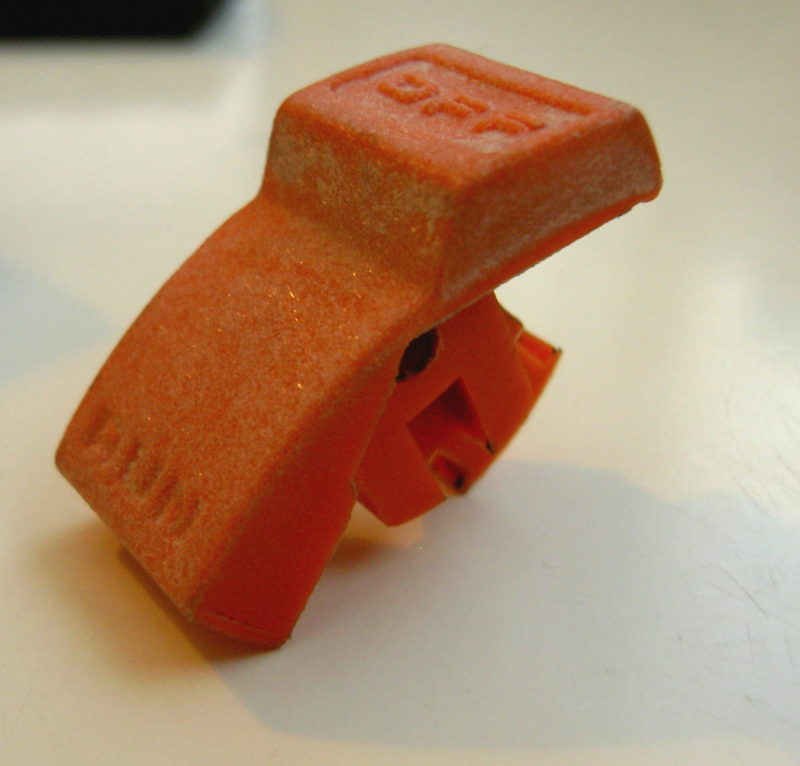
The top part of the main bracket (if you will) was strangely pitted and lacking colour. It almost seemed as if someone had sandblasted it and painted it with a very thin cloack of grey paint with silver flakes in it. The texture was really rough as the picture of the run/off-button shows. The bottom part was okay though. My concluson was that this is the result of plastic being exposed to UV-rays for 25 years. The problem is merely cosmetic but it still bothered be enough to start thinking about how to revive it. The obvious choise would be to paint it, but since I'm usually against painting for surfaces that don't need it I decided to try and polish it - after all, the part is made out of one piece of some sort of black composite.
So I started by cross sanding it under water (with a bit of soap in it). I started off with 400 grit followed by 500, 600, 800, 1000, 1200, 1500 and finally 2000 grit.
after 400 grit
after 800 grit
after 1200 grit
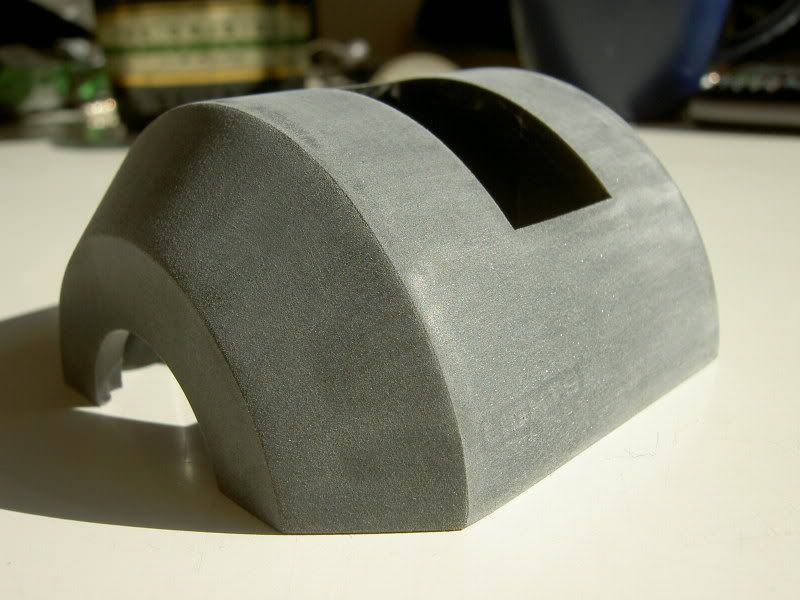
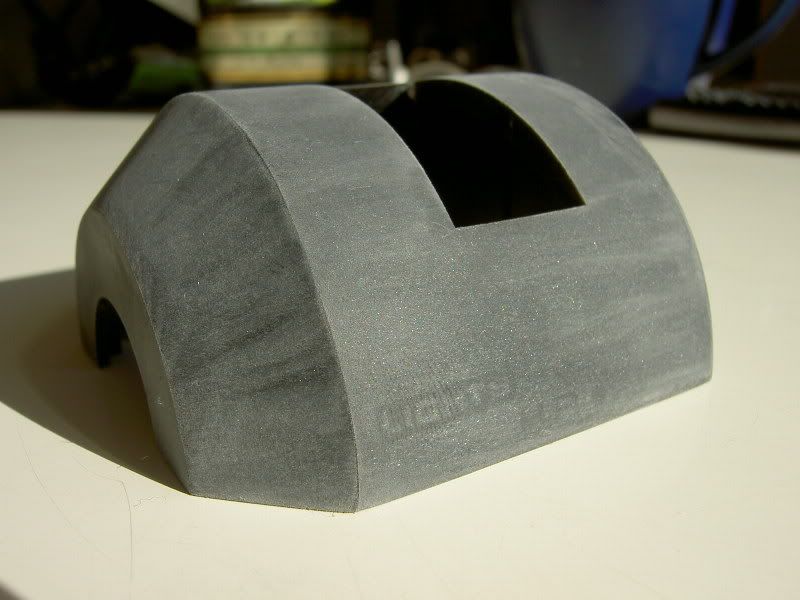
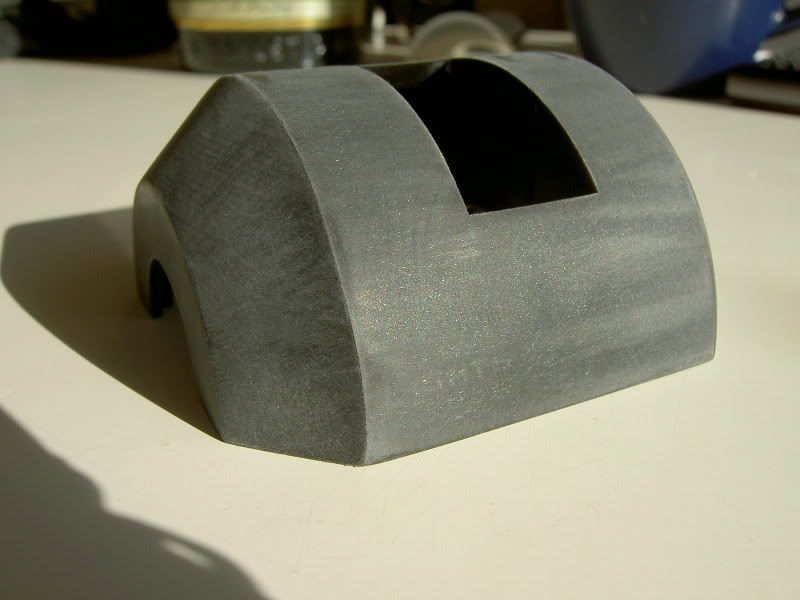
after 2000 grit
People are always scared of going into this because they think it will take forever, but in fact, if you gradually go through as many grits as I did, the only part that takes more than 10 minutes is the first one. The first 400 grit pass is critical, you need to remove as much material as needed in order to make a smooth surface for the following grit, which will only even out the scratches made by the previous grit. In this case, I needed to re-do the whole procedure as I didn't sand deep enough with the 400 grit the first time. This piece of plastic was pitted HEAVILY.
Then I took out my dremel-tool with a self-made "buffing wheel". This was essentially made using small pieces of an old 100% cotton t-shirt pressed together.
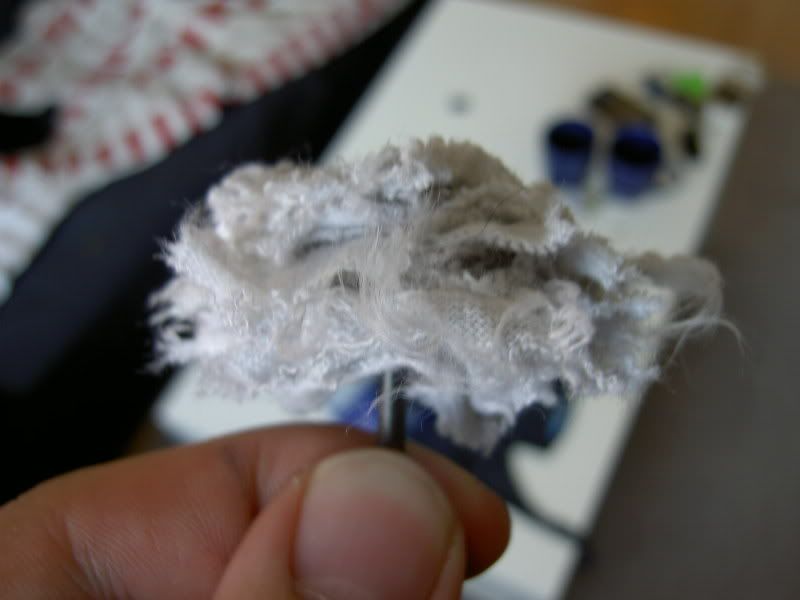
The reason I needed to make my own buffing wheel is that dremel has very high RPM's and the felt buffer that came with the set was too hard and started to melt the plastic.
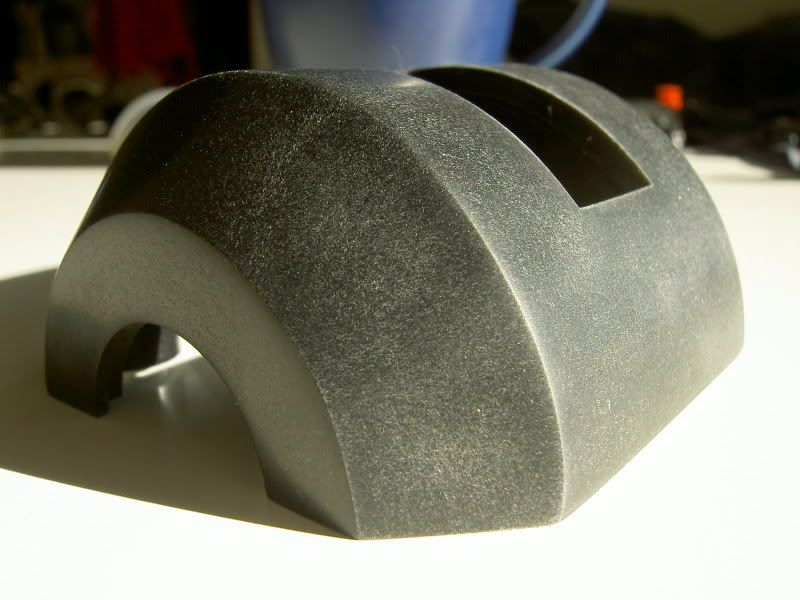
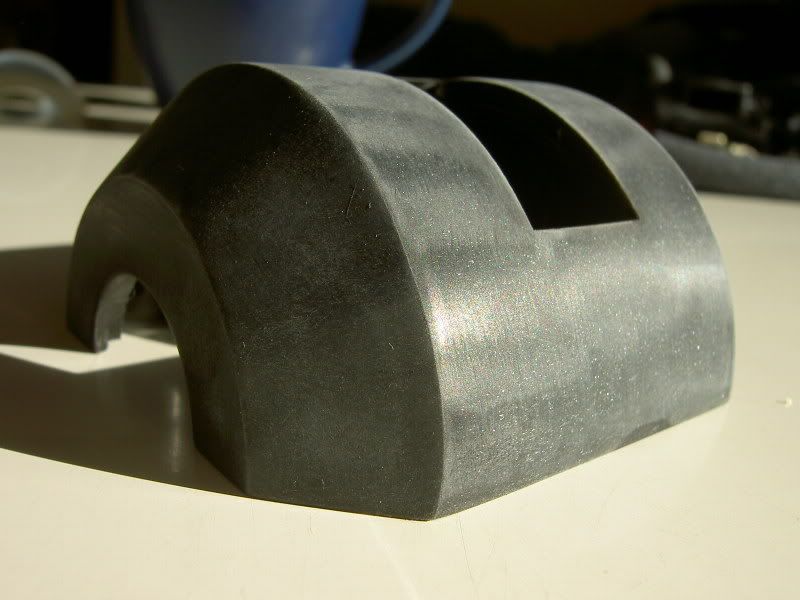
After dry buffing with dremel
The results could have been better if I had used a buffing compound with the final buff, but I didn't have any at hand. Also waxing the part might bring it to a more glossy surface but over all, I'm pretty happy with the final product - It looks a bit weird on the above photo under direct sunlight, but it's actually pretty close to the finish of the bottom part. I did the same treatment with the run/stop-button:
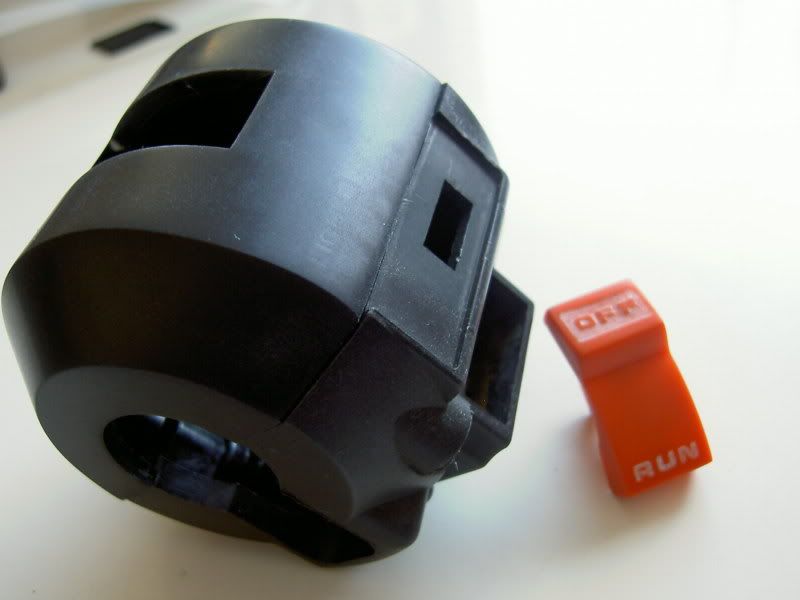
I love the fact that there's no paint on it - to me, it brings a certain "truth" to the part.
The internal components will be cleaned (the conductive surfaces sanded clean and all the springs will get fresh grease). Obviously this procedure removed the lettering from the part, but they can be applied later if needed. This one might get away without them since run/off reads on the button and the starter button will be disabled, so that leaves only the light switch unmarked and I think I can remember what it does

.
Until next time.